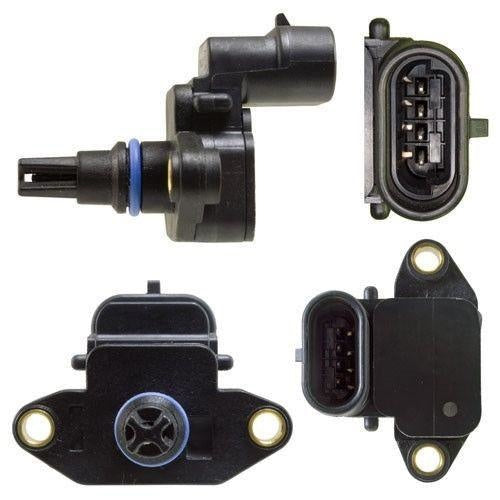
Manifold Absolute Pressure Sensor - MAP Sensor
The MAP or manifold absolute pressure sensor is used in a fuel-injected motor to monitor the manifold pressure at all times of engine operation. The MAP sensor transmits data to the Engine Control Unit - ECM for optimum engine performance. This manifold absolute pressure sensor is just one of the many different sensors used in today's modern diesel engines.
The MAP or Manifold Absolute Pressure sensor has 5-volt reference and ground inputs and in turn, outputs a voltage signal between 0 and 5 volts depending on the pressure it senses. This sensor is responsible for measuring the pressure in the intake manifold about atmospheric pressure. When the pressure it senses is lower than atmospheric pressure (vacuum), the sensor will output a lower voltage. As the pressure it senses rises to match atmospheric pressure (vacuum drops), the voltage output of this sensor rises. This sensor also doubles as a barometric pressure sensor. When you turn the key on before starting the engine, the ECM takes the reading from the MAP sensor and uses that to calculate barometric pressure. The ECM uses barometric pressure as the basis for calculating fuel and spark delivery to the engine.
Diesel engines use the MAP sensor as an aid to control fuel injection precisely for the best engine performance possible based on the current conditions. The MAP sensor or Manifold Absolute Pressure Sensor continuously monitors the air intake system pressure readings and then transmits this data to the ECU. The manifold absolute pressure sensor transmits data which is used to calculate:
- Air density
-
Mass Air Flow Rate
- Optimum combustion
- Advanced or Retarding Injection Timing
Below is a list of warning signs associated with a failed MAP Sensor:
- Poor engine performance by getting the incorrect amount of fuel to the engine
- Dark black exhaust smoke
- Decrease level of turbo boost
- Poor Engine Performance
- Incorrect Air Fuel Mixture
- Improper Boost Pressure
- Turbo Lag
MAP sensors are electrical sensors that are very sensitive to contamination. We suggest cleaning your MAP Sensor before you replace this sensor. MAP Sensors are also subject to extreme vibrations from driving. The MAP Sensor connections can loosen and cause external damage. Electrical connectors can also melt or crack from overheating due to close proximity to the engine. In either of these scenarios, the MAP sensor will need to be replaced.
Here is a list of MAP sensor fault codes that are associated with the MAP sensor to look for if your check engine light has turned on:
P0068: MAP/MAF - Throttle Position Correlation
P0069: Manifold Absolute Pressure - Barometric Pressure Correlation
P0105: MAP Circuit Malfunction
P0106: MAP/Barometric Pressure Circuit Range/Performance Problem
P0107: Manifold Absolute Pressure/Barometric Pressure Circuit Low Input
P0108: MAP Pressure Circuit High Input
P0109: MAP / Baro Pressure Circuit Intermittent
P1106: MAP/BARO Pressure Circuit Range/Performance Problem
P1107: Barometric Pressure Sensor Circuit Low Voltage
NOTE: Sometimes different sensors or other faulty parts can cause these codes to set. Even if your engine is experiencing the symptoms listed above and one or more of the OBD-II codes listed, it is recommended to test the MAP sensor to confirm it is faulty.
How to replace a faulty MAP sensor
Replacing a bad MAP sensor varies by vehicle, so please consult the manufacturer’s service manual for instructions for any specific instructions. Once the faulty sensor has been removed, it’s a straightforward installation for the new part.
Locate the MAP sensor on the intake manifold, either next to or on the throttle body itself, or on the intake manifold.
- Remove any screws or bolts holding the sensor in place.
- Disconnect the electrical connector. Note: Do not force removal as the connector may contain a locking tab that may need to be removed prior to unlatching the connector from the sensor.
- If applicable, detach the vacuum hose from the sensor. Note: It is recommended to replace the vacuum hose with a new hose when replacing the sensor.
- Compare the new and old sensors.
- If applicable, reconnect the vacuum hose.
- Reconnect the sensor electrical connector.
- Reinstall any screws or bolts that hold the sensor in place.
- Double-check all connections to make sure everything is secured.
NOTE: Depending on the vehicle and if a trouble code was set, a diagnostic tool may be required to reset the check engine light.
Please see the other Automotive Engine Sensors offered by KLM Performance inc. If you have any questions relating to what sensor you may need please feel free to contact us for assistance.